Optical filters can make or break a fluorescence microscopy experiment. Choosing the right ones alongside your illumination technology will make the best use of your light source and chosen fluorophore(s), controlling image contrast and reducing photobleaching and phototoxicity. When used alongside LED illumination systems with individual channel control, they can even alter the temporal resolution for capturing dynamic events during live cell imaging. However, choosing the right optical filter set can be a technical challenge and we’ve provided an overview of considerations in this blog. But please contact us if you have any questions!
How to choose the right optical filters
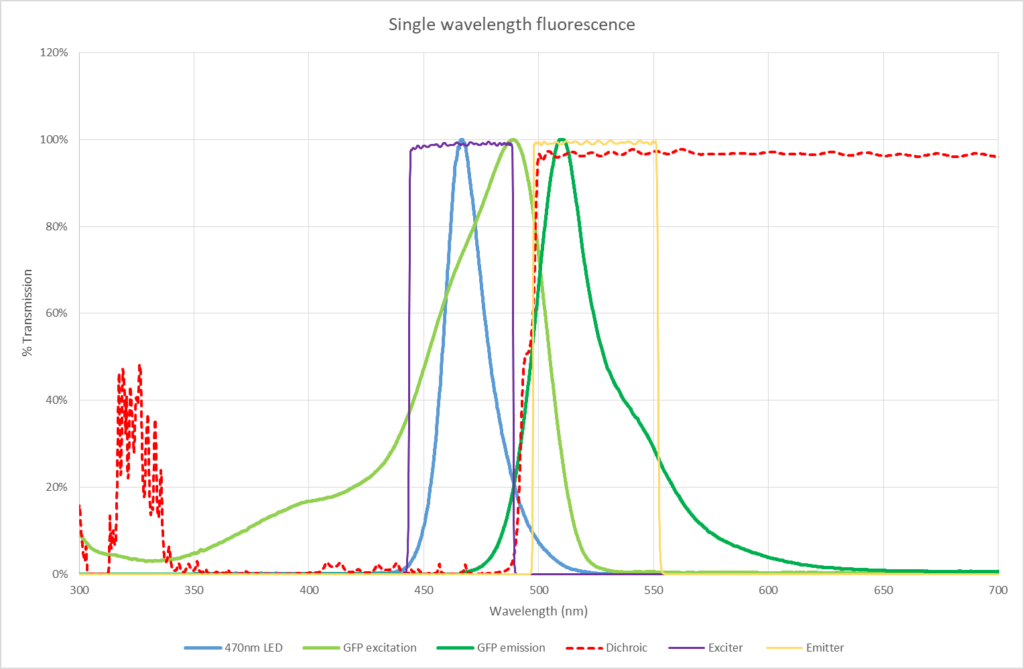
You can achieve the best results by matching the fluorophore, light source and optical filters, and here we explain this in an example using GFP and a single-band filter set. The below figure shows the GFP absorption and emission spectrum, the light source and the performance of an optical filter set – as measured by % light transmission at different wavelengths.

Firstly, we can see how the 470 nm LED closely matches the peak excitation wavelength of GFP. We can then see how the excitation filter (purple) has been designed to transmit light at the strongest output of the LED and the peak GFP excitation. This ensures plenty of useful light will hit the sample and efficiently excite GFP. Despite the discrete output when using an individual LED channel, excitation filters are still required as LED spectrums have ‘tails’ which can result in
Benefit #1: Reducing phototoxicity and photobleaching. Exposing the sample only to useful wavelengths reduces the overall light levels, therefore reducing phototoxicity and photobleaching. This is especially true when blocking UV light which is notoriously damaging, and in this way optimised filters can lead to more accurate data and longer time-lapse studies.
Following fluorescence excitation, the emission signal then passes through the dichroic mirror and emission filter. You can see how this GFP emission filter only allows a narrow band of signal surrounding the GFP emission peak to pass to the detector.
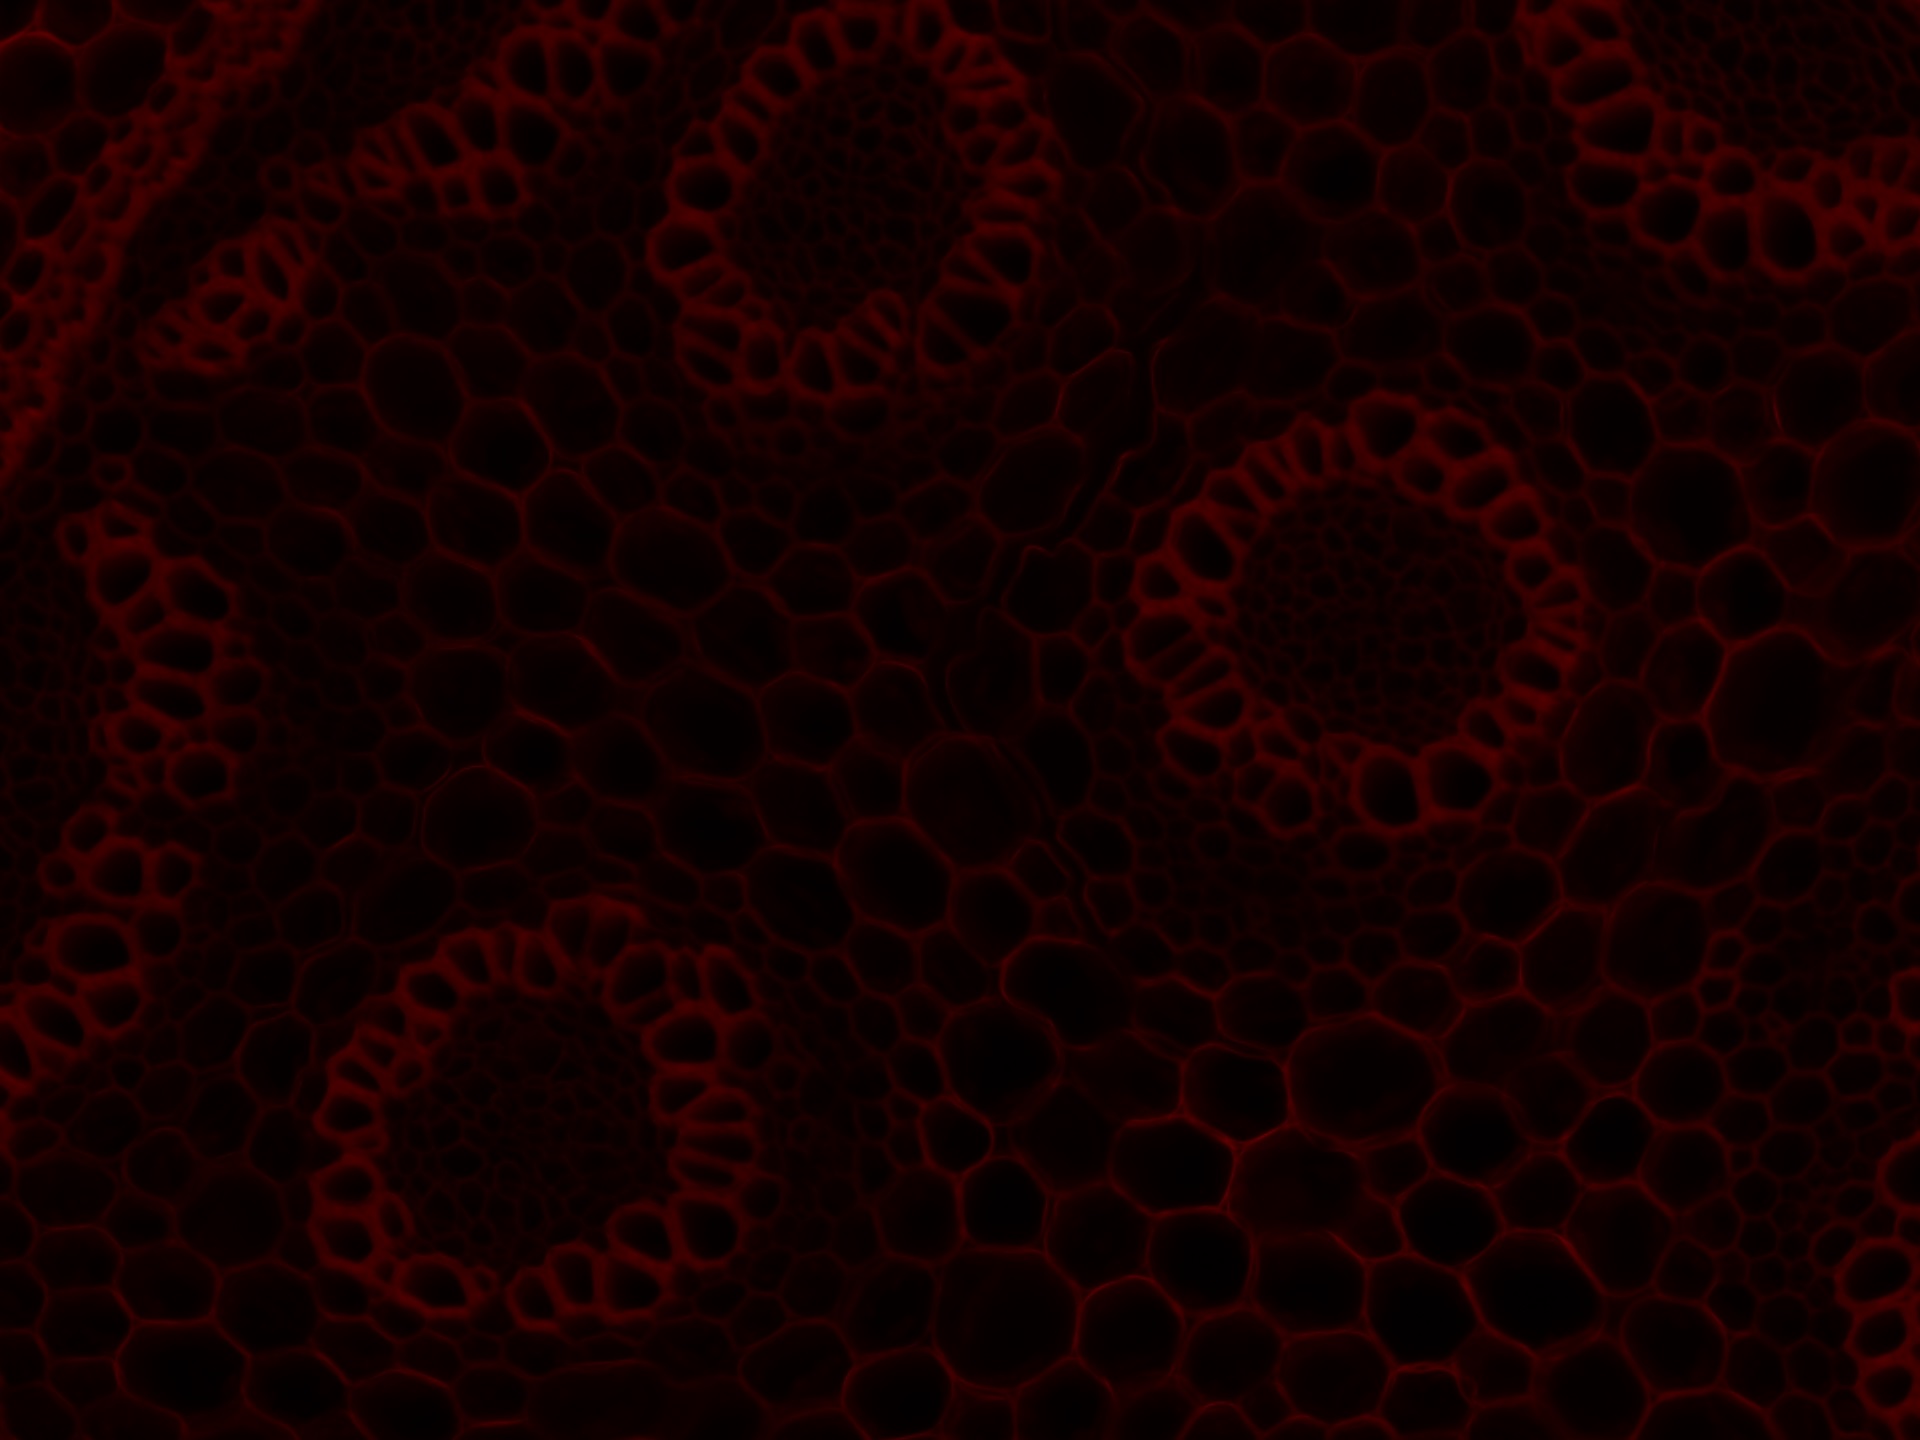
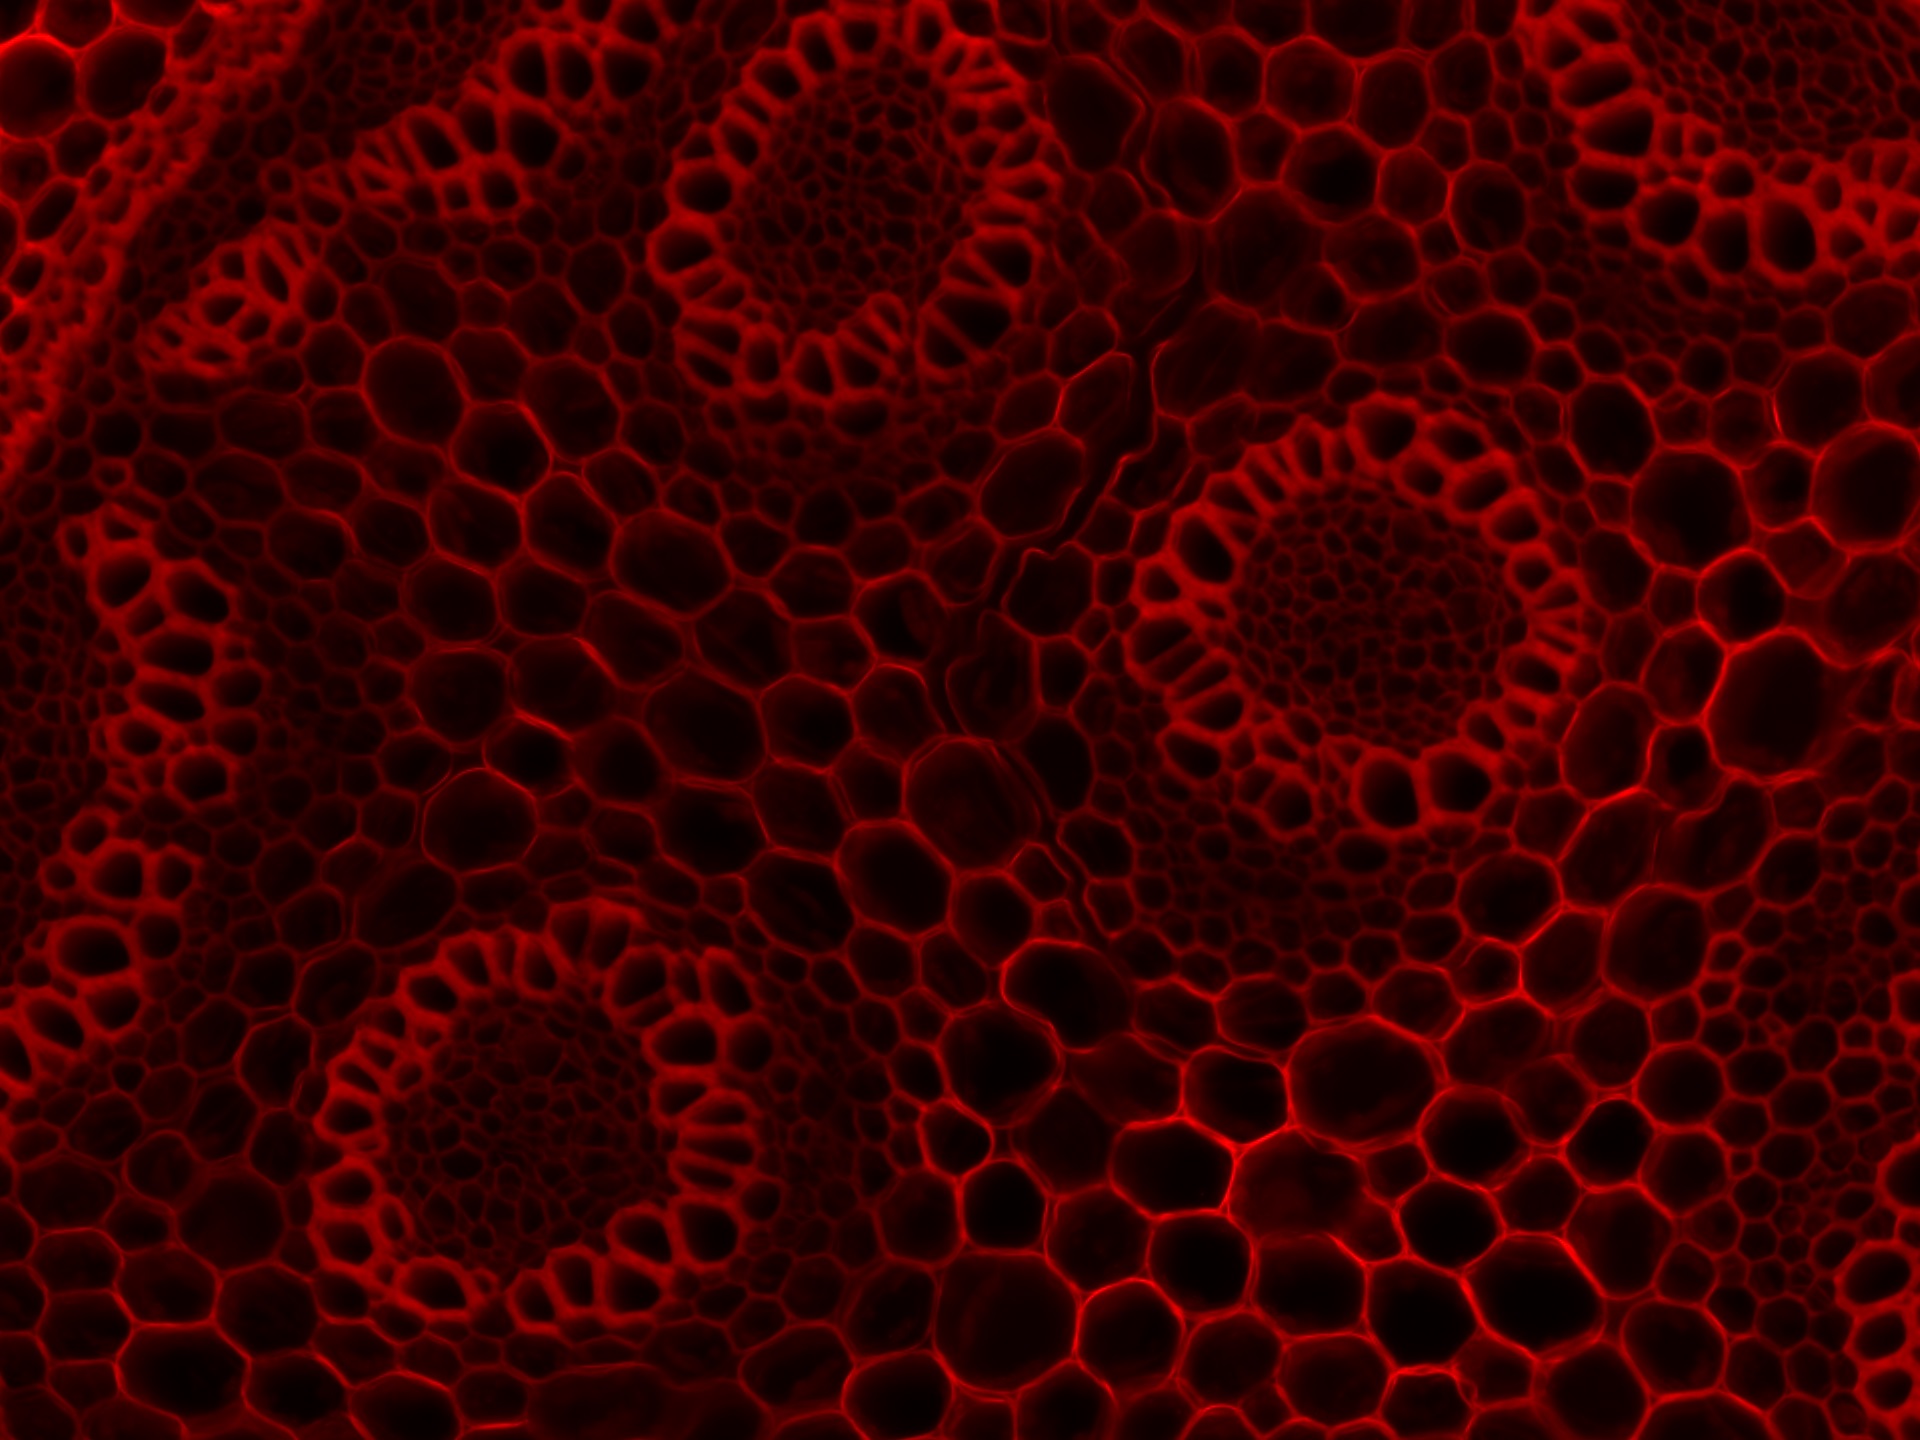
Benefit #2: Enhancing image contrast. As optimised filters only allow signal transmission to the detector and blocking background such as autofluorescence or stray excitation light, this increases the signal-to-noise ratio and can significantly enhance image contrast.


Drag the bar to compare the difference in image contrast between two different optical filters sets
Benefit #3: High-speed multi-colour imaging. Things can get complicated when visualising more than one fluorophore. Where custom microscopy illumination systems include inline excitation filters, i.e., one for each individual LED channel, Pinkel filter configurations (single-band excitation filters combined with a multi-band dichroic and emission filter) can be used. This makes use of <7 µs LED channel switching for high-speed and high-contrast imaging. Unlike the use of filter wheels, the lack of moving parts also makes this system more robust in the long-term.
 Summary
Your fluorophore, custom microscopy illumination and optical filter design must work together – and the filters that worked well for a metal halide white light source may no longer be suitable for an LED illumination system.
If you have any questions or want to learn more about optical filters, please get in touch.
Find out how our technology can give you the edge, or discover what it’s like working with CoolLED!


